To support my current database team with additional database skills I decided to start some series focused on BI area. This POST describes quick start with Analysis Services – Multidimensional Databases.
I already wrote post regarding Analysis Services (Create SSAS database) and its settings for multidimensional mode. What should be prepared in advance are some relation data (Adventure Works) and Data Tools studio supporting Analysis Services. You can find in my previous post.
GOAL:
Let’s make a simple cube including 1 measure and 2 dimensions.
In short:
- Let’s create new project first – Multidimensional SSAS – Create Analysis Services Database
- Create Data Sources
- Create Data Source View
- Create Dimensions
-
Create CUBE
- Define measures
- Create dimension relationships
- Deploy solution to server
- To be continued
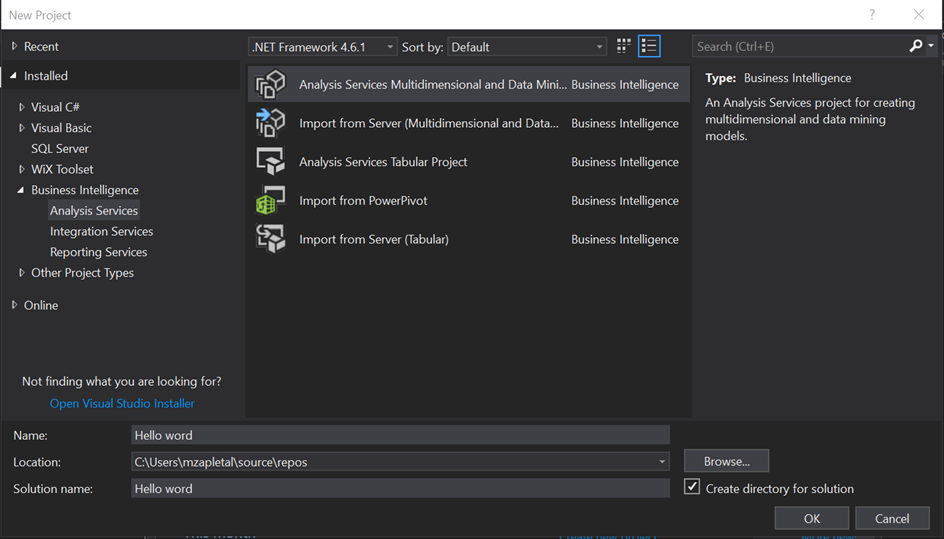
Create Analysis Services Multidimensional and Data Mining project first.
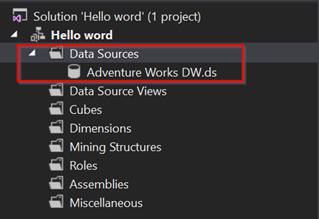
Define Data Sources. In our case, there is one Data Source to relation database. There could be defined more Data Sources from different connections. In Solution Explorer, right click on Data Sources section and click on New Data Source, define connection info in dialog box and confirm to create Data Source. Solution Explorer with defined Data Source should look like on picture bellow.
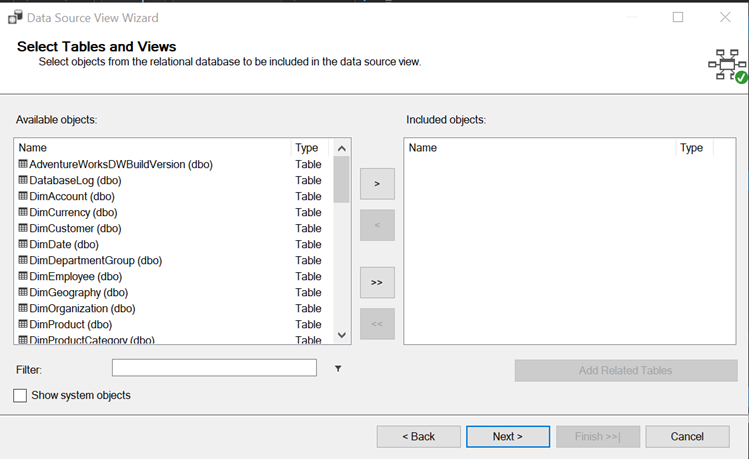
As next step we must define objects for logical database model. Right click on Data Source Views section in Solution explorer and click on new Data Source Views and Wizard to create Data Source Views appears. Select Data Source in next window, Adventure Works DW in our case and you should see dialog with list of objects form your Data Source on left side. Choose objects for your data model and continue with next.
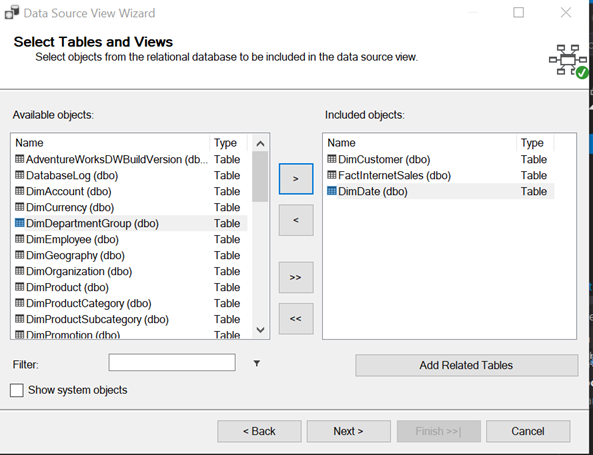
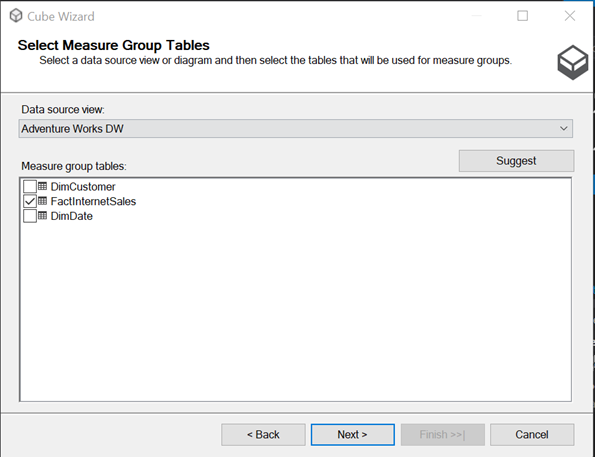
After selection you should have chosen objects on the right side of Select Tables and Views window. We selected DimCustomer, FactInternetSales and DimDate in our case.
As last step name Data source View and Data Source View Wizard is finished.
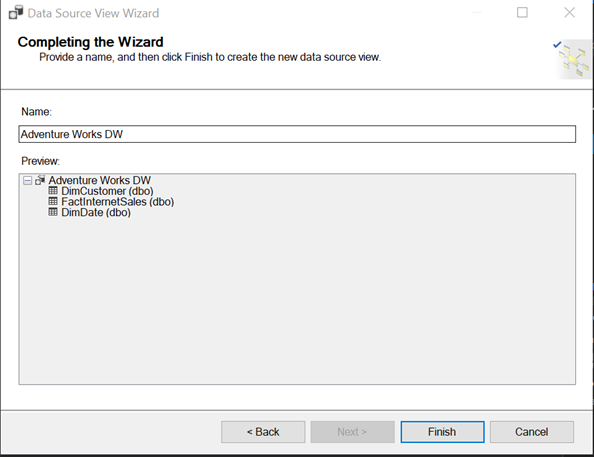
In case you have relational layer defined with referential integrity, it should be transferred to the Data Source View. In case that primary and foreign keys are missing you can create logical relationships between tables in Data Source Views. It is possible to create more Data Source Views, in case you have lots of database objects it is good practice to split them according to their logical area.
When above mentioned steps are done you can see the same Solution Explorer as on picture bellow.
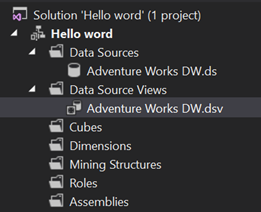
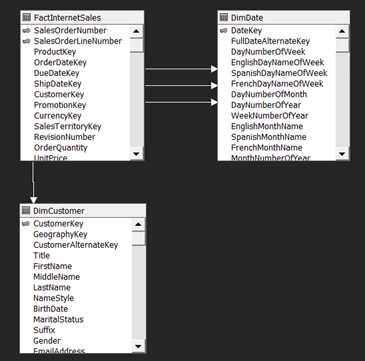
Let’s check data model in Data Source Views on picture bellow. You can see that relationships were created according to relation layer by default.
To create our cube, we use Cube Wizard where measures and dimensions are defined.
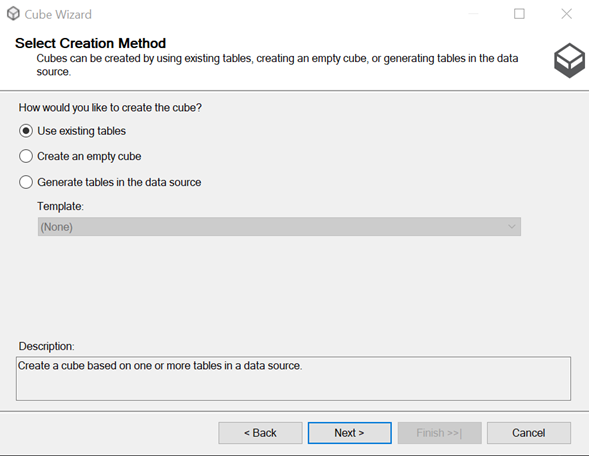
To speed up our process, check Use existing tables. In next window, select Fact table to define measures. You can click on Suggest button to check it automatically (based on defined Data Source View).
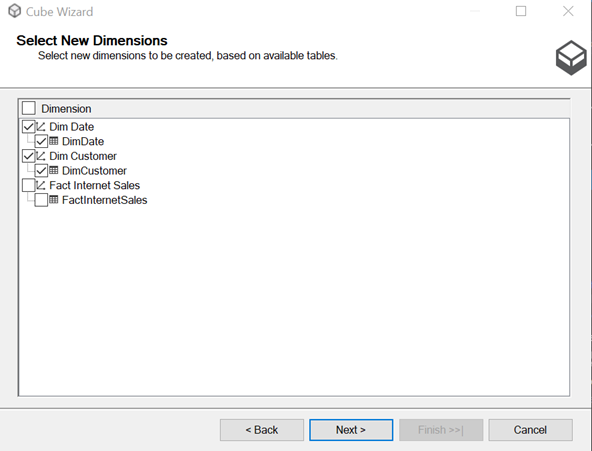
To finish Cube Wizard choose dimensions you use in the cube.
Now you should see created Cube and Dimensions in Solution explorer.
By double click on cube you see cube structure work space, with information regarding Measures, Dimensions, Data Source View etc.
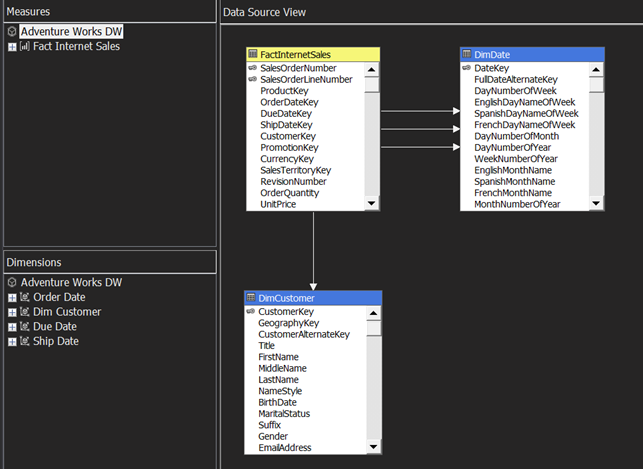
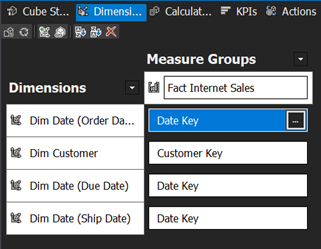
On the top menu of the Cube Structure Workspace you can see menu yo can navigate to other sections, like Dimension usage, KPIs, Actions etc. What is interegsting now is to check Dimension usage you defined relationship between facts and dimensions. As you can see Cube Wizard did this task automatically.
Now we can deploy our solution to server. Go to Project -> Properties see Configuraion dialog as on picture bellow. In Deployment section set Target Server and Database name. In other options you can set for example Processing Option to specify whether Analysis Services objects should be processed with deployment of the project. Leave Default in our case to Process cube after deployment.
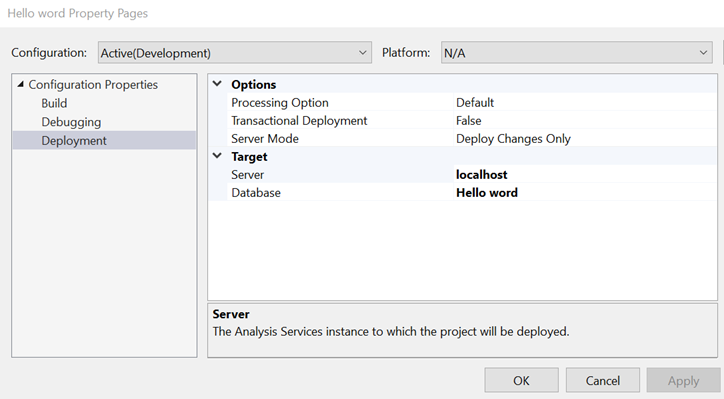
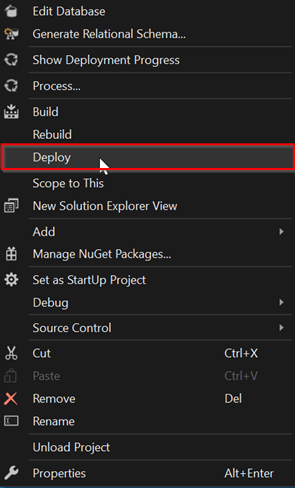
After you confirm above mentoned seting go to solution explorer, right click on project and click on Deploy in context menu on picture bellow.
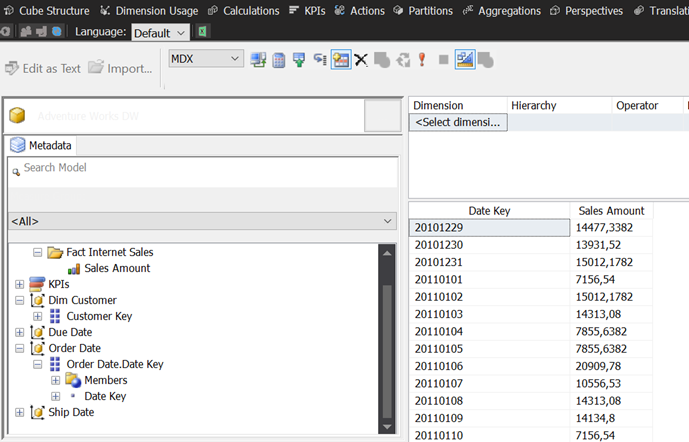
After deployment we can Browse deployed and processed cube in Cube Browser – top right menu.
As next steps we could extend dimensions by other attributes, try to create Hierarchy, add another dimension, etc.
Lots of scenarios you can try now, but to be continued in next posts.