Reporting Services, Tablix currency formatting

With Reporting Services is number formatting so easy. You can continue with our series and get report from here, or just open your report and follow bellow instructions. There are 2 basic places in designer surface where to format figures in your report Tablix.

  1. Through Tablix Text Box Properties
  2. Properties Pane
Tip: if you would like to format more text boxes in Tablix you can do it in few ways.
  1. Select text boxes you would like to format by clicking mouse cursor holding Left shift and change formatting in Properties Pane. (this will work in case that all text boxes would have the same formatting, if one text box format differs from others you will not be allowed to change the format).
  2. You can change formatting in one text box and by copy paste action to other textboxes, formats are transferred.
  3. Download report and open it in a texts editor and replace formatting tags

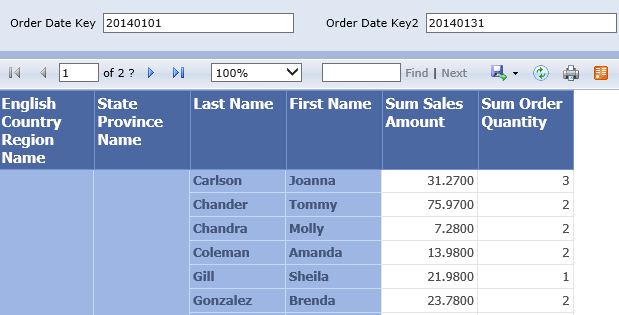
Let’s look on the report we created in post SSRS Tablix – repeating header. We would like to format Sum Sales Amount column with currency.
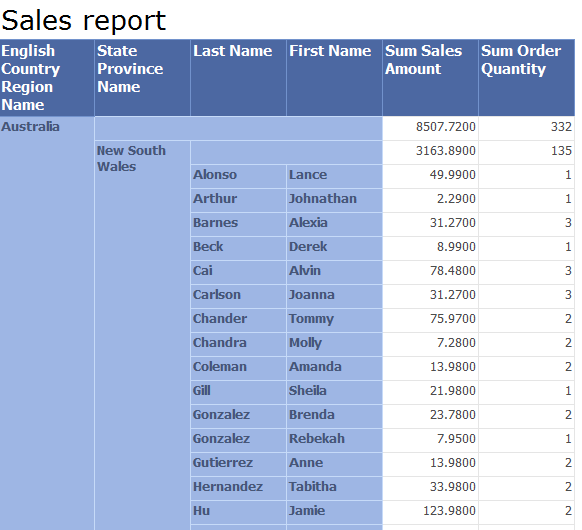
Sales Report
Picture 1 Sales Report

Go to text box with Sum Sales Amount value. Choose for example the one from EnglishCountryName group, right click and select Text Box Properties from popup menu.
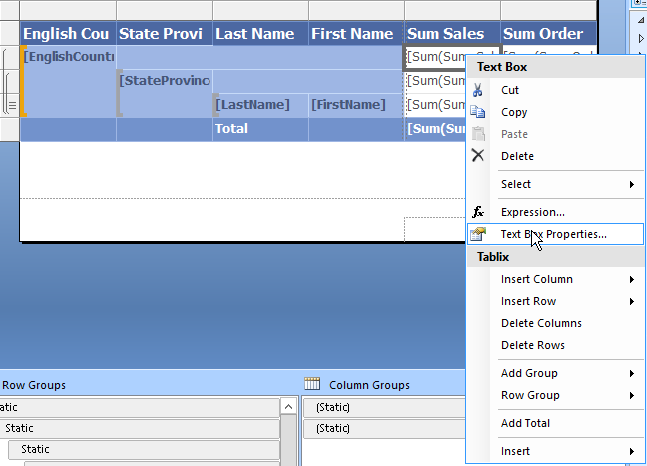
Textbox Properties
Picture 2 Textbox Properties

Text Box Properties window is opened, and you can set Currency formatting options. Click on Currency category and choose format you would like to apply. On picture bellow you can see that you have many options to set currency format: how many decimal places, if use 1000 separator, how to display negative numbers which currency symbol to display and where, etc. Regional setting of machine where Reporting Services are installed has impact on default settings in Text Box Properties window. Reporting Services supports regional formatting in different regional environments. For our report I left the default English settings.
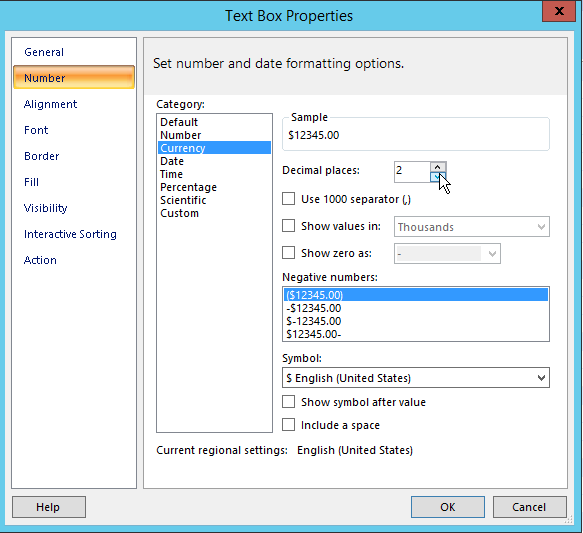
Textbox Properties - Number currency format
Picture 3 Textbox Properties – Number currency format

After formatting the rest of text boxes with Sum Sales Amount you can see formatted report bellow.
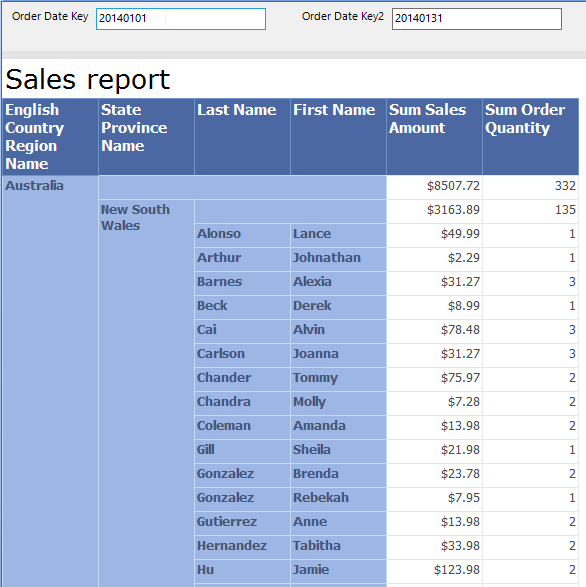
Sales report - currency format
Picture 4 Sales report – currency format

In Properties Pane, Number section, Format property you can find currency formatting we set.

Properties Pane - Number format
Picture 5 Properties Pane – Number format

In other posts I will describe other scenarios and approaches to format data in reports.

Stay tuned.
SSRS Tablix – repeating header

When I started developing with Reporting Services I was confused when I would like to make Tablix header repeating on each page. I tried to manage it through Tablix properties and Row headers or Column headers section. But as states on MSDN in case of static groups in Tablix you should use another approach then in case of non-static members. Since I was working mainly with Tablix component, I worked with static members. So, I had to apply approach described in this post. For this scenario I will use report from post Grouping Tablix.

 Grouped Sales Report
Picture 1 Grouped Sales Report

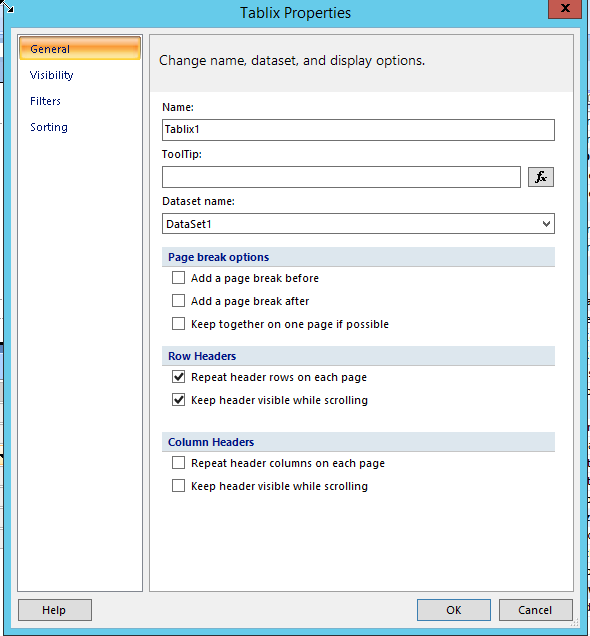
Open the report and in design mode select Tablix, right click and select Tablix Properties from popup menu. In the dialog box you can see menu saying Repeat header rows on each page, Keep header visible while scrolling and the same menu for columns. When you check this checked-boxes in Row Headers or Columns Headers section and run the report again nothing happened. This setting would work in case of Matrix component. Because there is no need to have static groups. In case of Tablix report, headers are static groups. So, let’s close properties window and click on the Tablix again.

 Tablix Properties
Picture 2 Tablix Properties

At the bottom of designer or studio surface, in the Grouping pane, there is an arrow, on the right side and by clicking on it you can enable Advanced Mode (picture below). After enabling this feature you can see static groups in Grouping pane. When you click for example on first static group Row Groups panel you can see that Last Name text box on the left-top corner of the Tablix is selected.

Grouping Pane
Picture 3 Grouping Pane

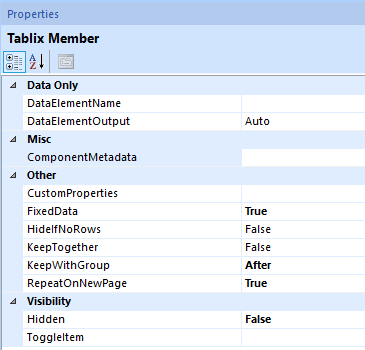
Having Static Last Name group selected, you can see its properties in the Property pane (picture below). We need to set FixedData, KeepWithGroup and RepeatOnNewPage attribute as on picture below. FixedData = True, KeepWithGroup = After, RepeatOnNewPage=True.

Properties Pane
Picture 4 Properties Pane

Run report again and you can see header repeating on each page and staying on top when scrolling the report page. And that’s it. In next posts I will try on repeating groups in more details.

Sales Report with fixed header
Picture 5 Sales Report with fixed header

Download final report here ReportSalesGroupingFixedHeaders.

Edit report with Report Builder “How to” edit report

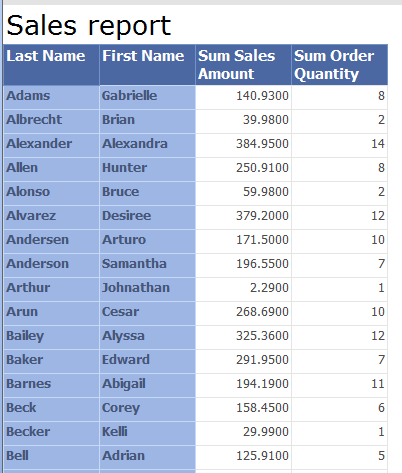
In this post we can continue with report we created in post “Report in two minutes”. We would like to extend our matrix definition and add First name column next to the Last name column.

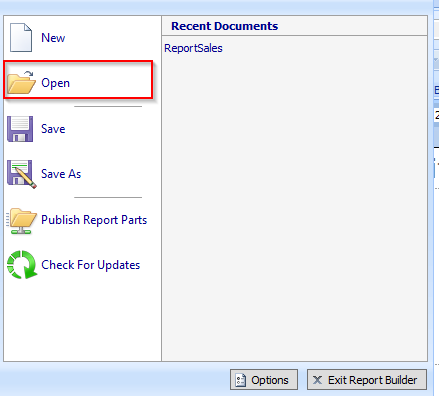
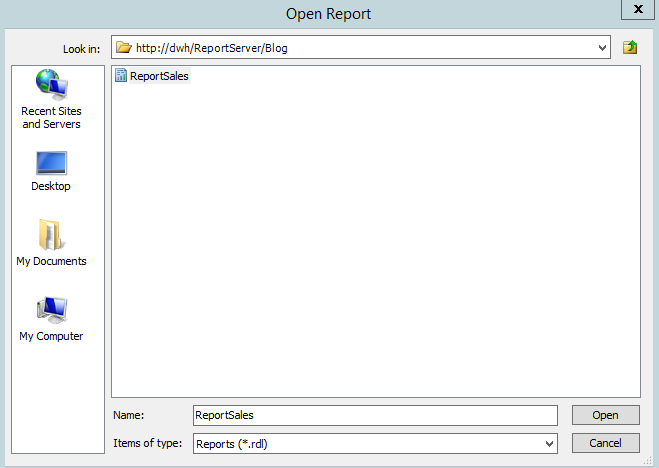
First of all, open Report Builder application and open existing report on Report Server.

Open SSRS report
Picture 1 Open SSRS report

Go to the directory on report server where report is published and open it.

Choose report on Report Server
Picture 2 Choose report on Report Server

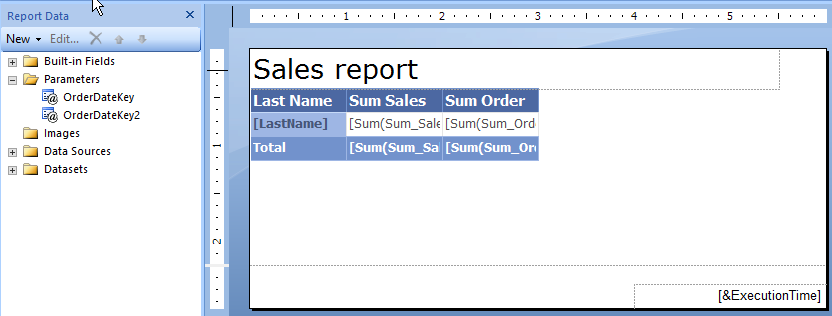
The report is in design mode now. Go to the Tablix definition and click on Last Name column that it will be highlighted.

Editing report
Picture 3 Editing report

Right Click on the column and select Insert column on the popup menu. In next step select Inside Group – Right to put First name column on the right of the Last Name column. You have to notice two basics things. Since we would like to extend LastName group by adding First Name column, we to had click on Last Name column to select the group area. Because we would like to extend this group by adding new column we selected Inside Group option. If we would select Outside Group – Left option, we would add column next to the left Last Name column and outside LastName group region. But in that case First name column would not be grouped and report would not behave as we expect. Look at popup menu, on picture bellow that we are not allowed to be used Outside group – Right option – it is disabled. If we would like to extend the detail group, where measures are placed, and add for example Sum vat column next the Sum Sales, we have to click on Sum Sales column first and then select option for inserting column.

Adding column
Picture 4 Adding column

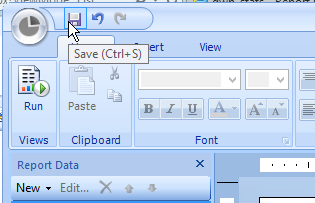
Do not forget to publish your report.

Publishing report
Picture 5 Publishing report

It was very short overview how to edit your report using Report Builder. Stay tuned!

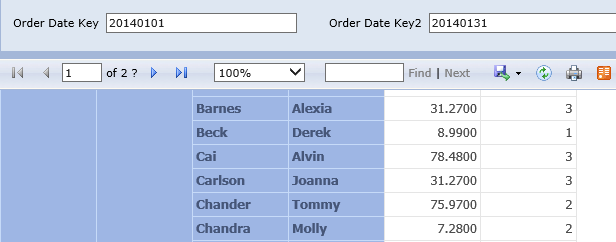
Sales report
Picture 6 Sales report

You can download report here ReportSalesEditReport.